

How To View Raspberry Pi Camera Video Remotely
Your Raspberry Pi works great on your local network and yous tin can even use a Raspberry Pi as a web server there. But what if yous want to write a spider web awarding that volition allow someone to access your Pi's hardware, its camera for example, from a web browser anywhere on the Internet? It's pretty piece of cake using Anvil, a Python web service that you can run locally.
Anvil provides a powerful, withal simple way to write full stack web apps in pure Python and it has been with us for a few years every bit a service that has been online only, requiring the use of Anvil's servers to create projects. Your project is hosted on their servers and it tin talk to a remote machine, for instance a Raspberry Pi, using an uplink script on the Pi. However, there'south no need to rely on Anvil's own servers anymore every bit the Anvil team recently open up-sourced their app server enabling anyone to make their own projects using the Anvil spider web service and then download and run the same projection on their own server.
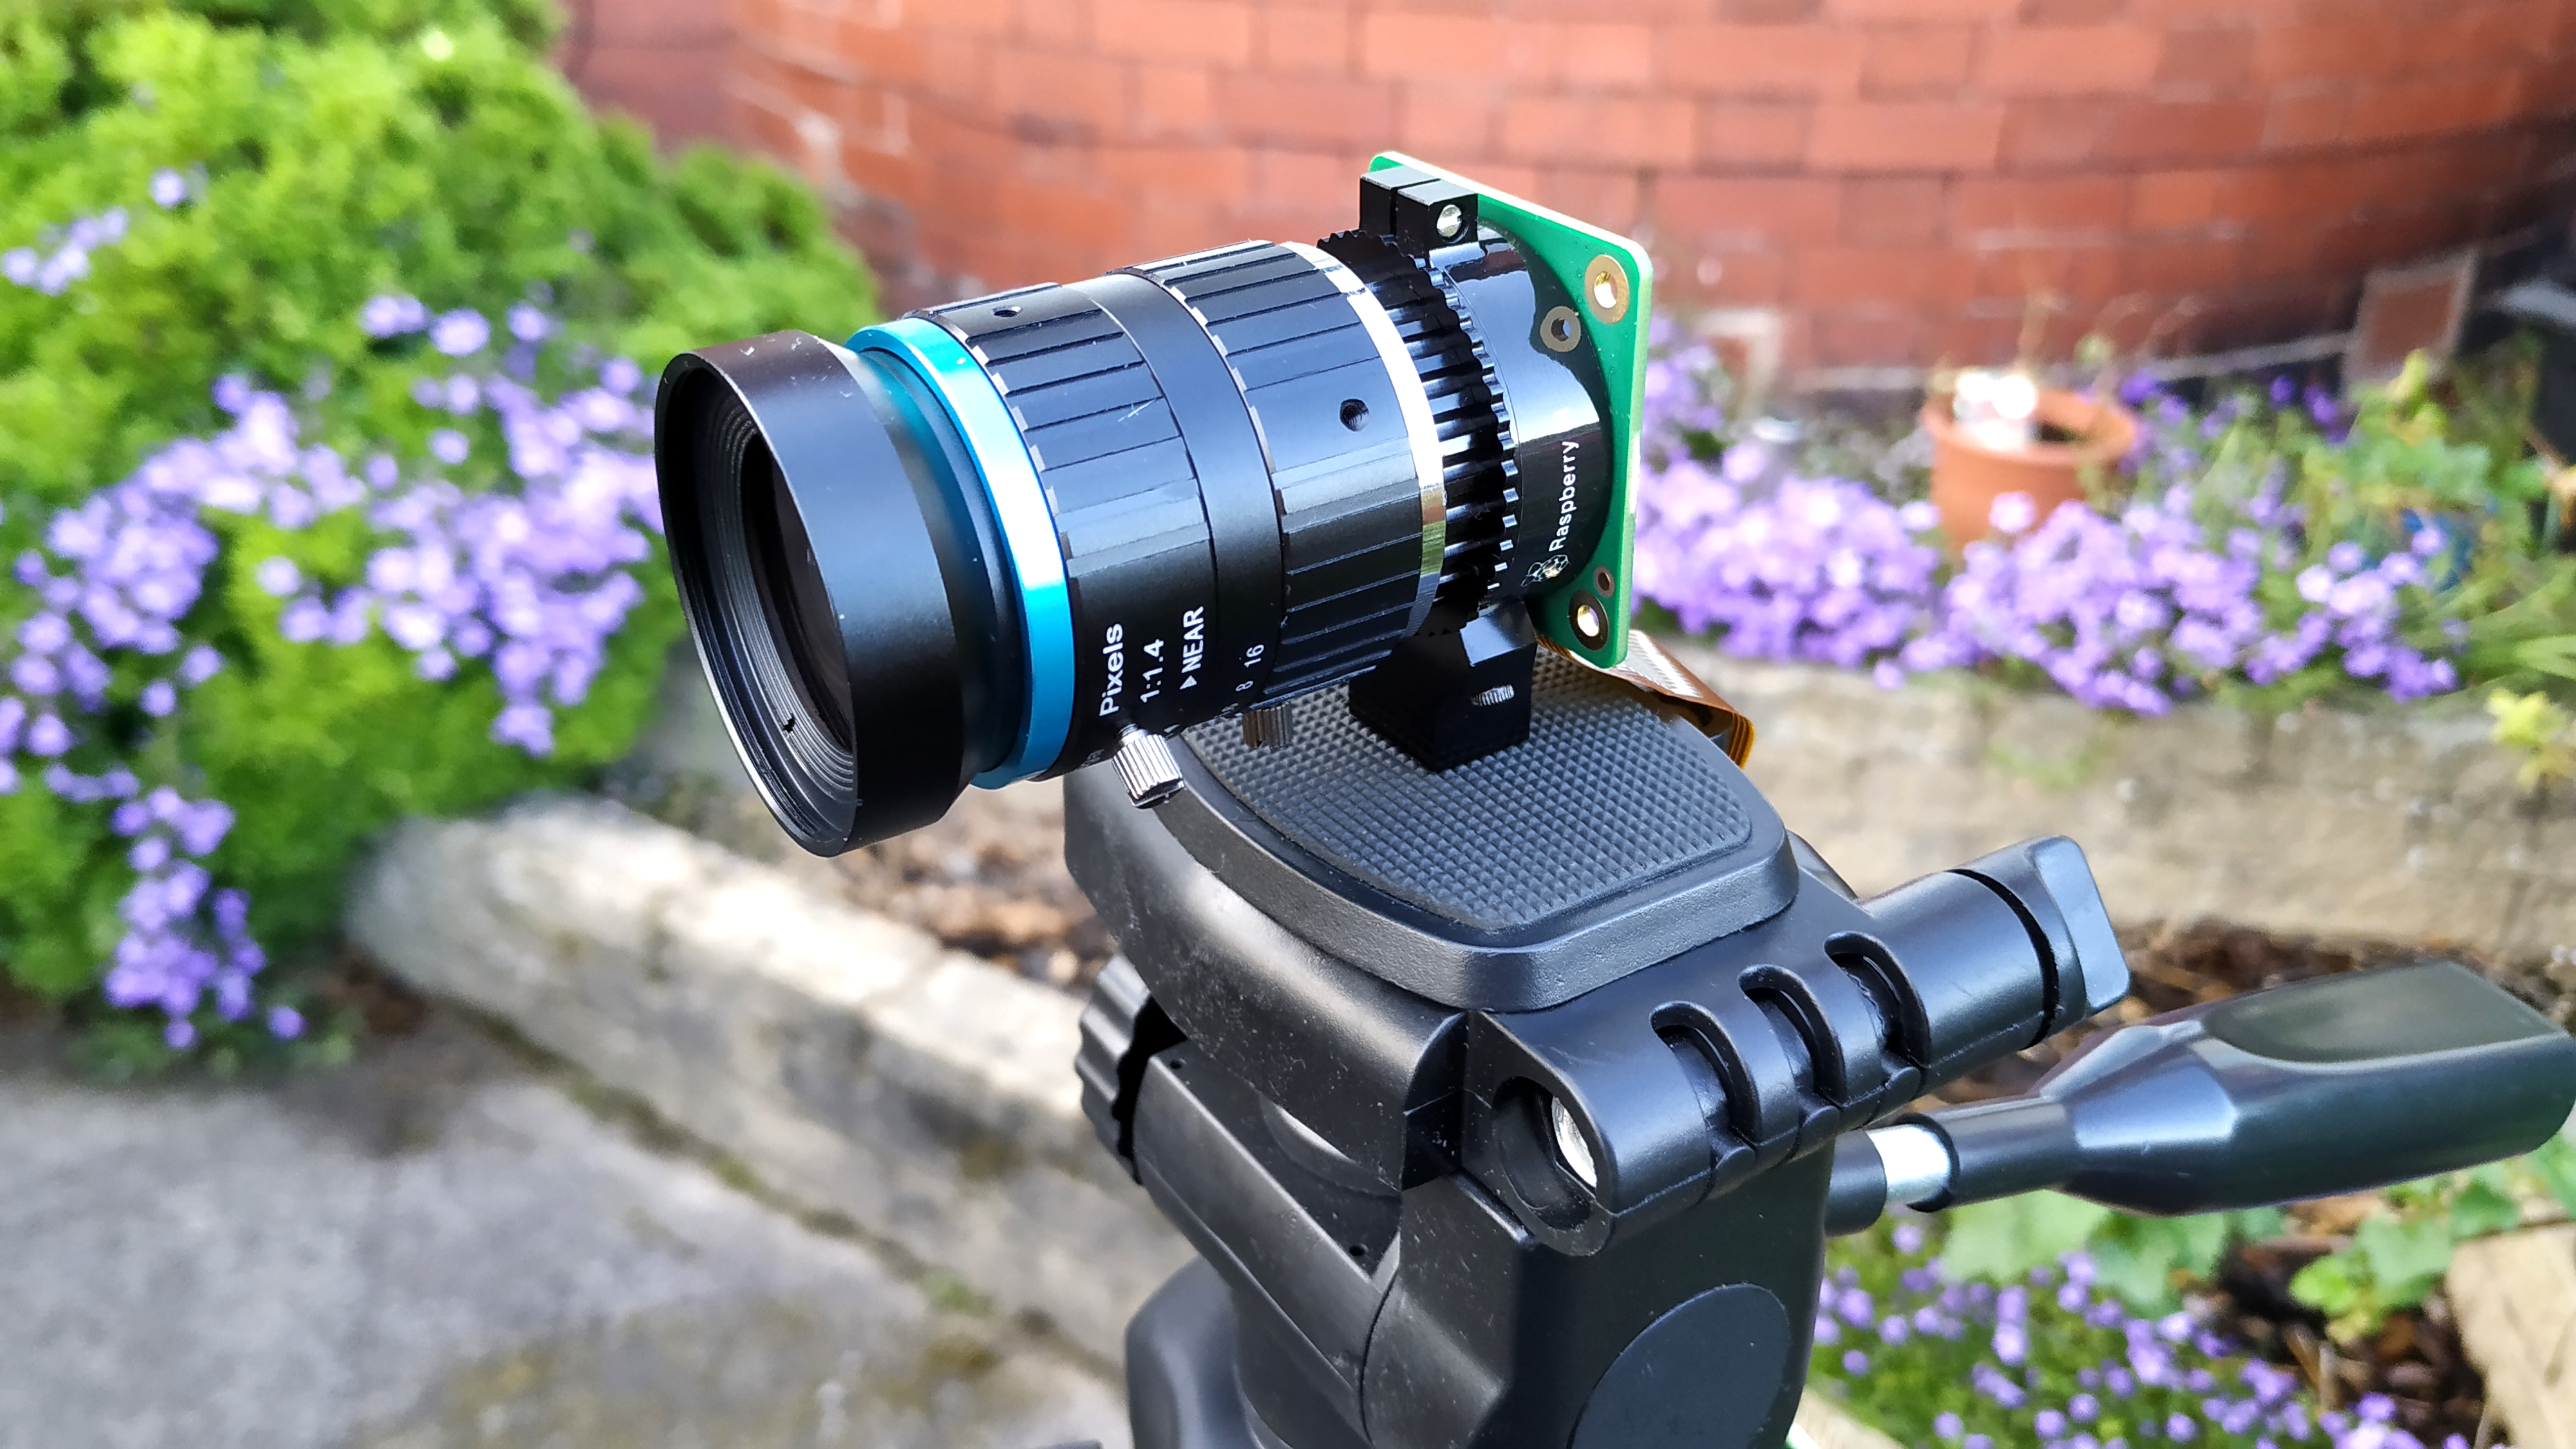
This tutorial shows you how to create a photobooth fashion application using a Raspberry Pi and a camera module (we recommend using a Raspberry Pi 4 and the new Raspberry Pi Loftier Quality Camera). The awarding will be accessible remotely using an like shooting fish in a barrel to configure tunnel awarding which will straight traffic to our Pi, even through a firewall.
What You Need
- Raspberry Pi (preferably a Raspberry Pi 4, but any other model should work also)
- Raspberry Pi Camera (Pi Quality Photographic camera preferred)
- The latest version of Raspbian installed on your microSD card
Connecting the Photographic camera Module
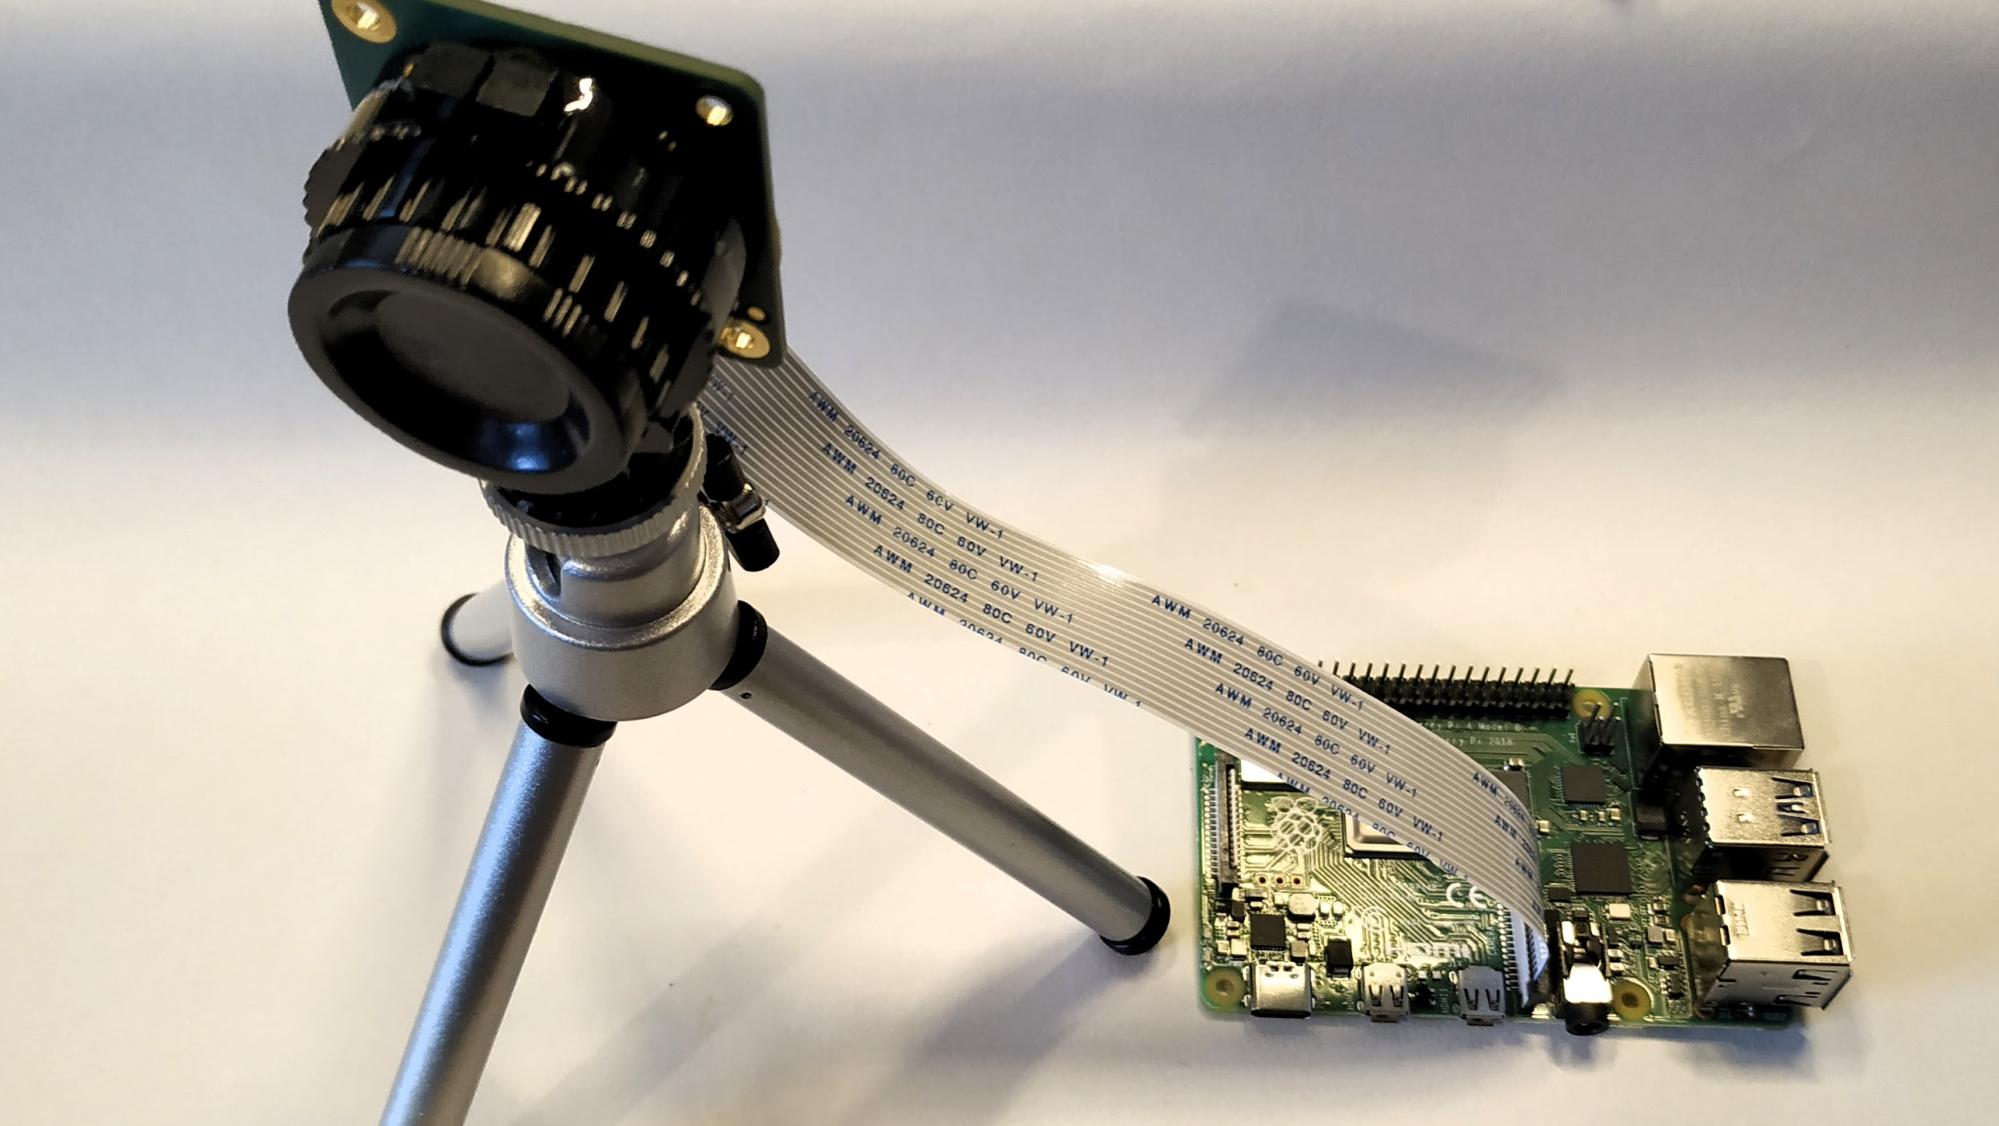
1. Insert the camera connector to the Camera port (CSI) which for model B boards is between the HDMI and composite port. Gently lift the plastic embrace and insert the cablevision with the blueish tab facing the Ethernet / USB ports. Push the plastic cover back in place to lock the cablevision
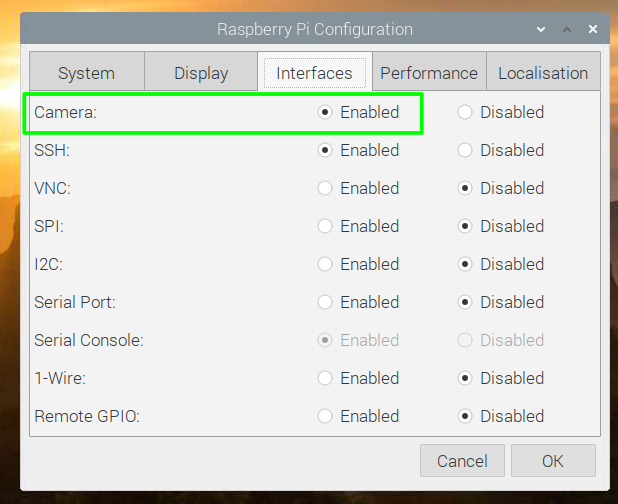
2. Enable the camera interface on your Raspberry Pi. Just launch the Preferences app on y our Pi, become to the Interfaces tab, enable the Camera interface and then reboot the Pi.
Getting Started with Anvil
three. Install the Anvil App Server by typing the post-obit at the control prompt on your Pi.
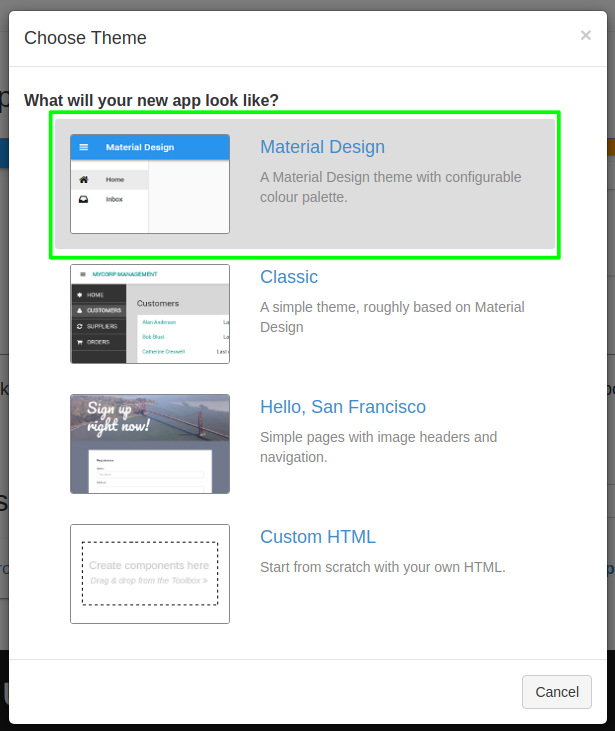
$ sudo pip3 install anvil-app-server 4. Create a new blank app at anvil.works. Open a web browser to http://anvil.works and click on "Outset Building" to sign up for a costless account. Create a new blank app and utilize the Cloth Design theme.
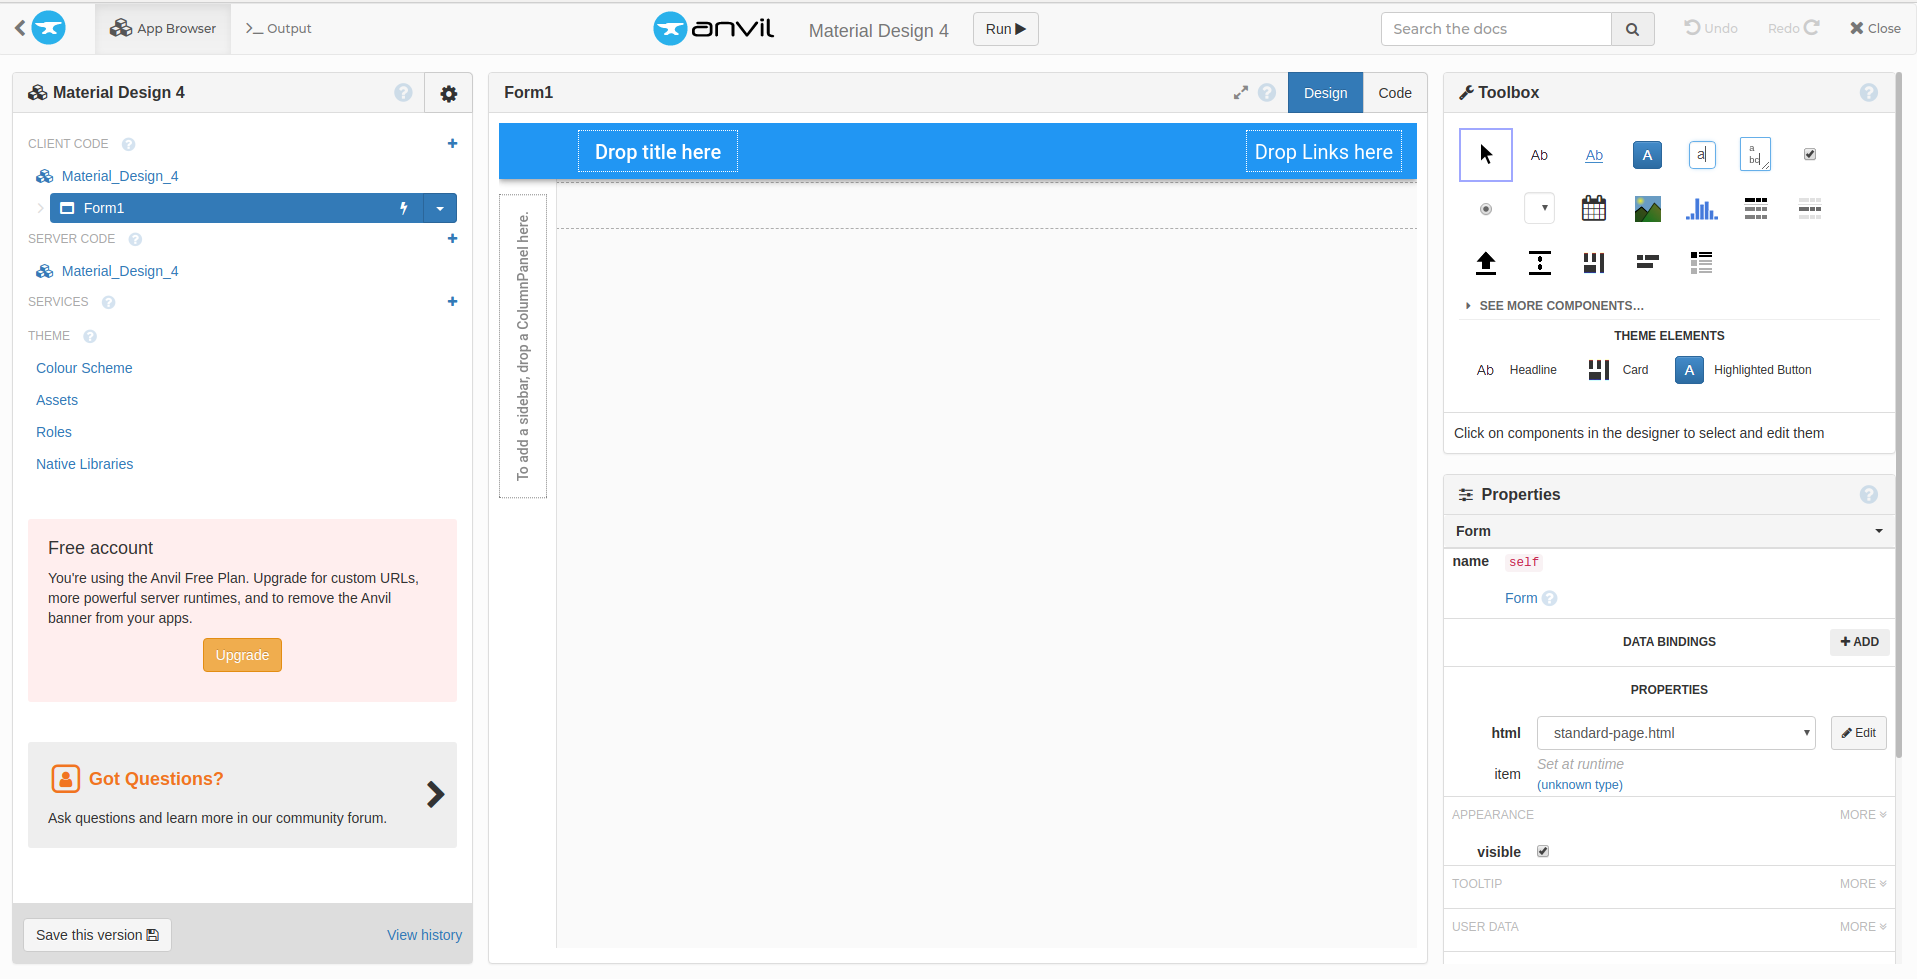
The Anvil editor now opens and in the middle of the screen is a form which is where we create our user interface.
Building Your Photo App in Anvil
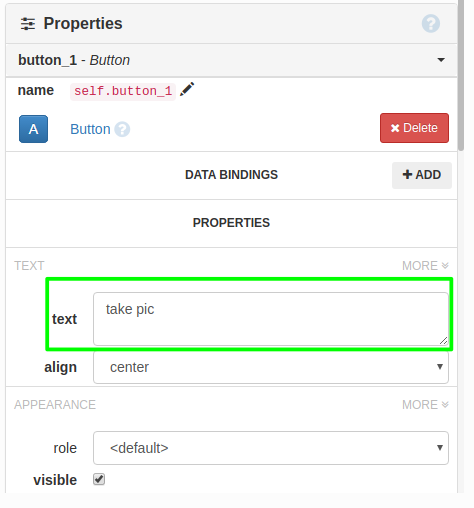
5. Drag a push from the toolbox into Form1 and place it at the meridian of the form.

6. Change the text for this push button past altering the text field in Properties.
7. Drag an image from the Toolbox and place it under the button. Drag the image area to resize as you crave. The prototype captured past the camera will exist shown here and scaled to fit the epitome area.

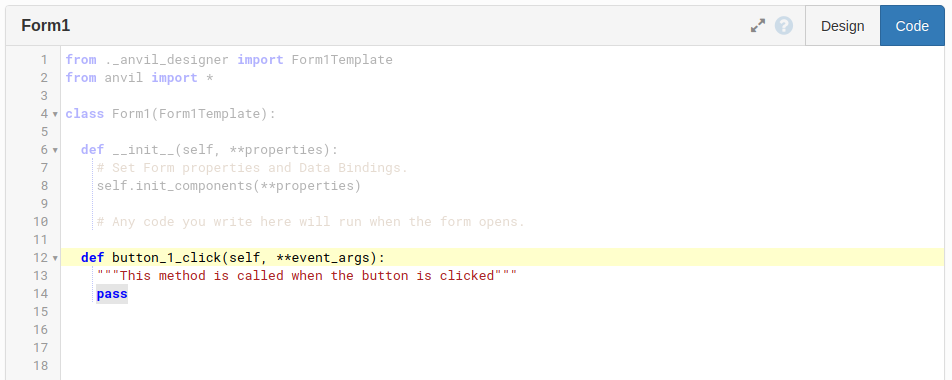
8. Double clicking on the button volition open the code editor and highlight the department of code for the button.
9. Add the post-obit code to line 3 of your app.
import anvil.server And so on line 15 we will add together the following code which will change the image displayed on the app by running code on our app server. This code is a office that we shall create later in the project. Note that this code is automatically indented to evidence that it belongs inside the function "button_1_click()"
self.image_1.source = anvil.server.phone call('takepic') 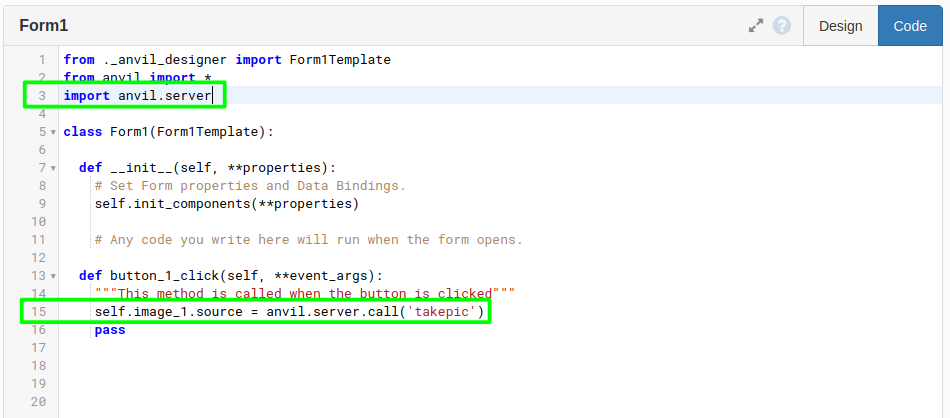
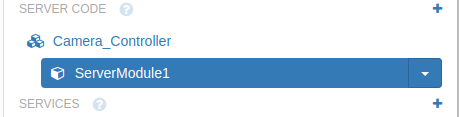
x. Navigate to SERVER Code on the left side of your screen and click Camera_Controller, then click "Add a new Server Module" This will create an area where we can write the code that volition trigger the camera to take a motion picture.
eleven. Import two modules of Python lawmaking on lines 2 and 3. The first will enable Anvil to handle images in our app. The second enables access to the Raspberry Pi camera.
import anvil.media from picamera import PiCamera 12. Add the camera object. At line iv we create an object which nosotros tin can use to command the camera. Line 5 configures the photographic camera to use the maximum resolution for the HQ photographic camera. If you are using an older camera, change this to reflect your needs.
camera = PiCamera() camera.resolution = (4056, 3040) thirteen. Create the takepic() function. Line 20 sees a Python decorator used to identify an area of lawmaking which tin can exist called by the Anvil server. This code is our "takepic" part, called when the button is clicked. This function will capture an image and save it equally 'foo.jpg', then on line 23 we return this file equally a media object which Anvil can so show in the app.
@anvil.server.callable def takepic(): camera.capture('foo.jpg') return anvil.media.from_file('foo.jpg') 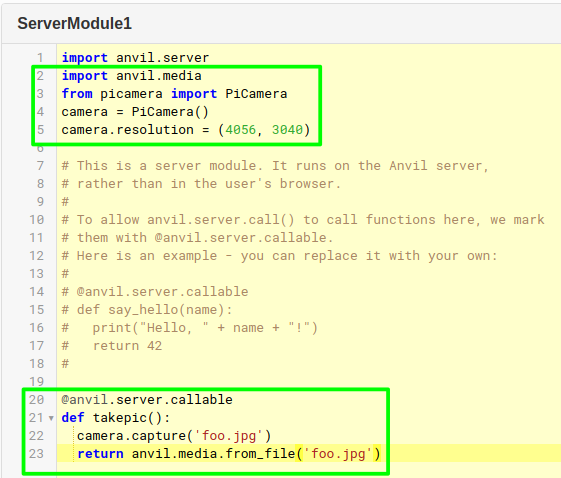
Making Anvil Lawmaking Run on Your Raspberry Pi
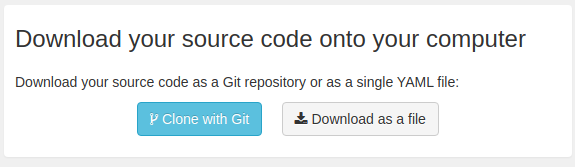
14. Click on the Cog icon, and and then select "Share app…" then click on "Clone with Git". This volition download all of the code to our Raspberry Pi.
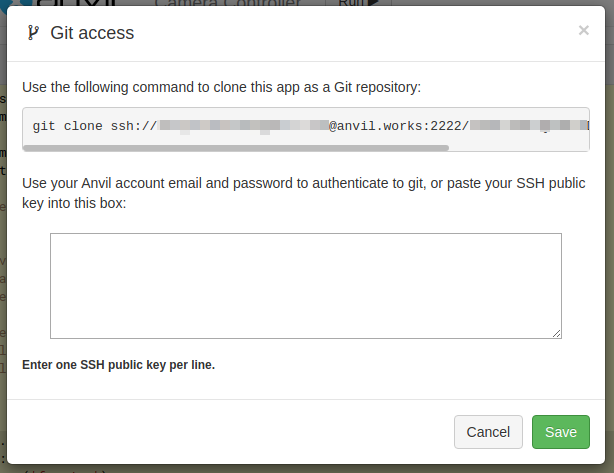
xv. Copy the URL starting "git clone" and paste this into a terminal, then press Enter. You volition need your Anvil account electronic mail and password to authenticate.
16. Navigate to the directory containing the Anvil code, called Camera_Controller, in your terminal window.
$ cd Camera_Controller 17. Type the following to run the Anvil App Server, and load the configuration file for the app. Note that this will have some time, particularly at first every bit information technology needs to download ~200MB of files
$ anvil-app-server --config-file anvil.yaml 
Once we see "Downlink authenticated OK" we know that the Anvil code has been run successfully.
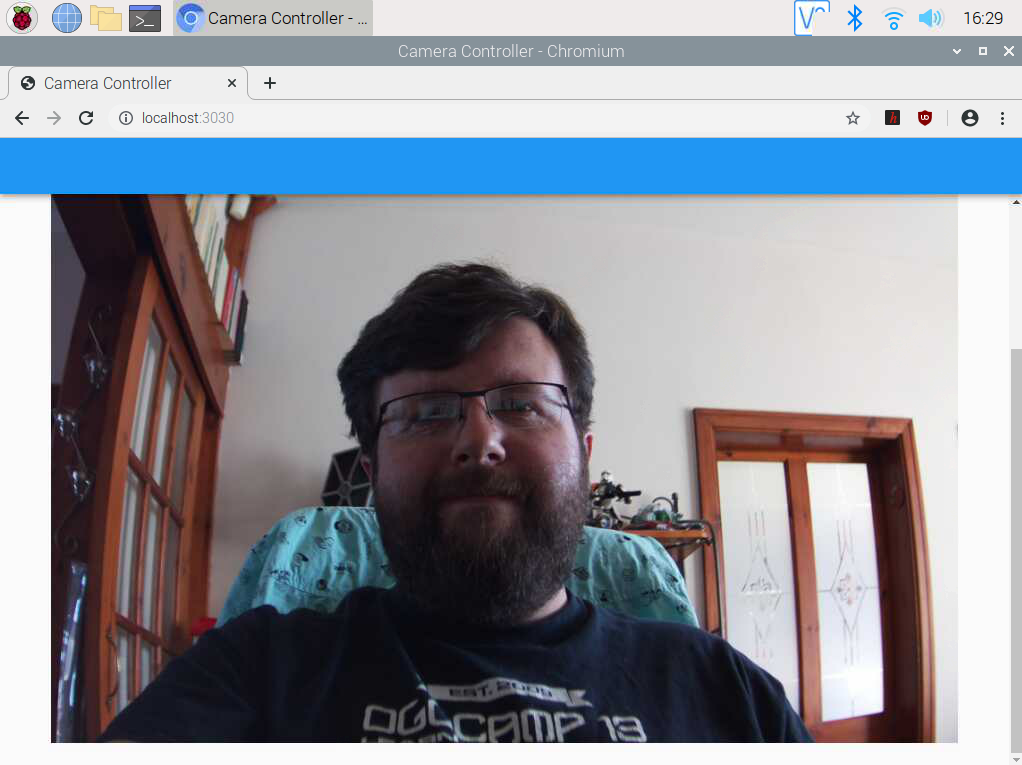
18. Open a browser to localhost:3030 and you lot will encounter the app. Click on the TakePic button and after a few seconds the image will appear in the app
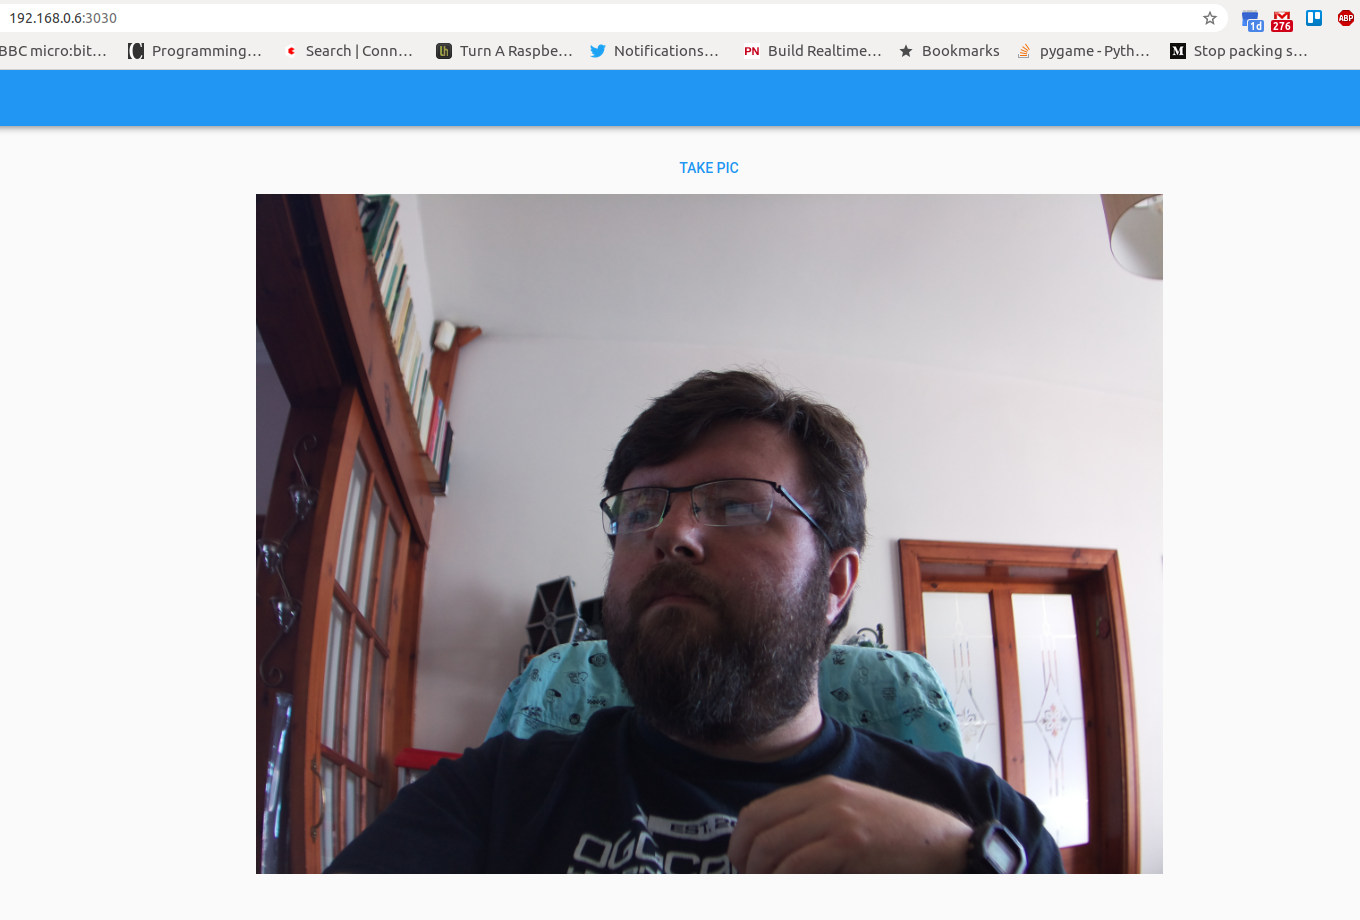
Another device on the same network can as well control the app we simply need to replace "localhost" with the IP address of our Pi. Which tin be plant past hovering the mouse over the WiFi icon for a pop up to appear with the details.
Calculation a Secure Tunnel for Cyberspace Access
Now information technology'southward time to create a secure tunnel to our Raspberry Pi server then we can admission it from outside of our network. If you don't wish to do this, yous can skip these steps.
nineteen. Download and install the Linux ARM archive from https://ngrok.com/download .
$ unzip ngrok-stable-linux-arm.zip 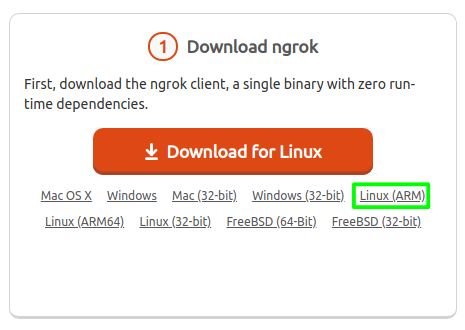
twenty. Launch ngrok to start a tunnel that will create a URL directly to our app. Look for the forwarding URL and brand a annotation of it.
$ ./ngrok http 3030 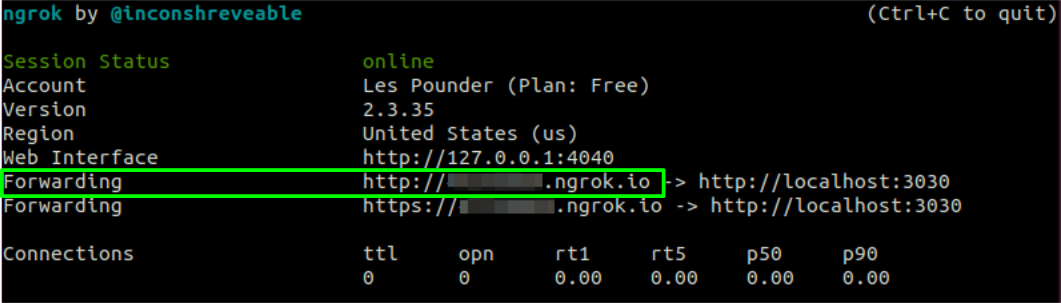
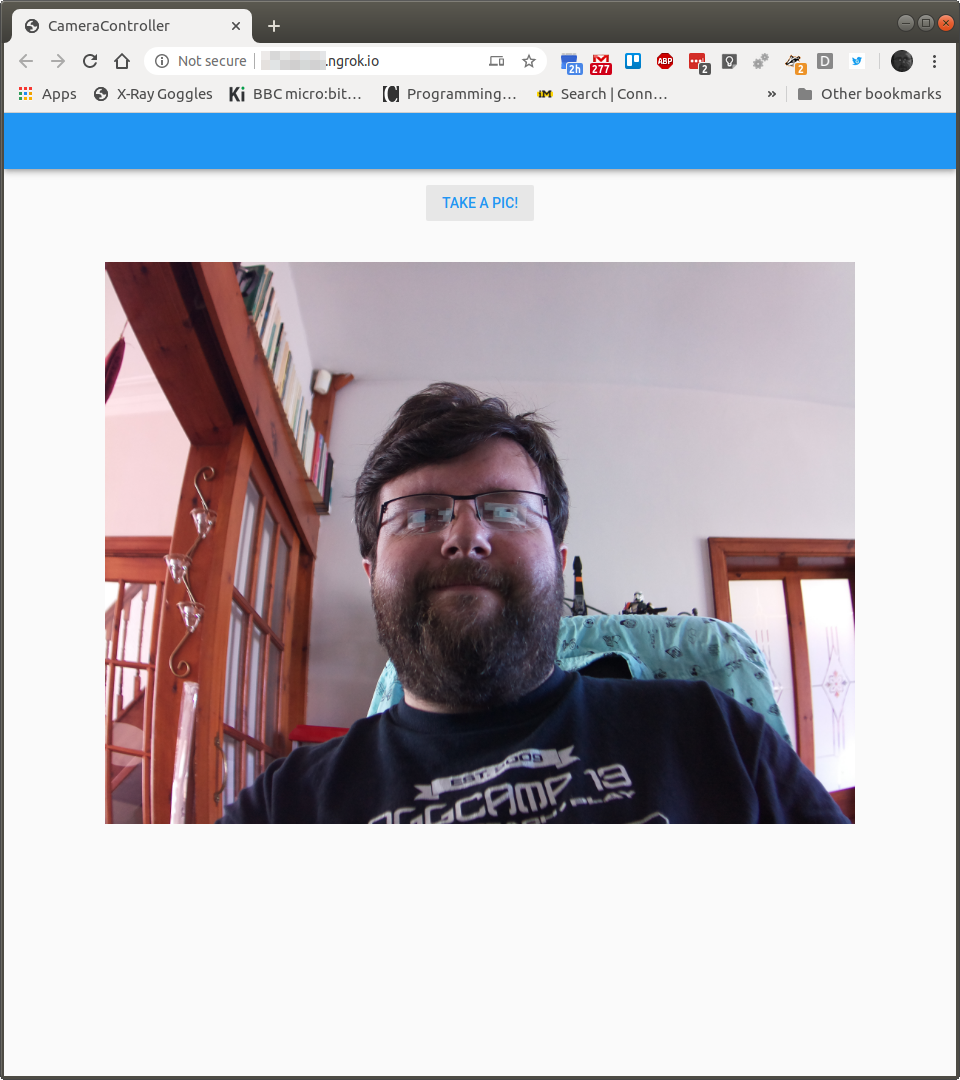
21. Type the URL into a browser on another device (phone, laptop, tablet) and the camera interface is set for use. From anywhere in the globe!
Source: https://www.tomshardware.com/how-to/raspberry-pi-remote-control-camera-from-web
Posted by: herreralefterim.blogspot.com
0 Response to "How To View Raspberry Pi Camera Video Remotely"
Post a Comment